From Julie H., historical interpreter:
Autumn- what a fantastic season! In addition to beautiful changing leaves, autumn conjures up mouth-watering mental images of delicious foods. Sweet potatoes. Squash. Turkey. Apple cider. And of course, pumpkin! For those of you also in the ever-growing pinterest world, you've been tempted with thousands of pictures of autumn-themed recipes. Well, here's a recipe that you will definitely want to bookmark for this holiday season- pumpkin pie!
There are two things to know about our 1820s recipe for pumpkin pie. The first is that historically, they would've called it a "receipt" and not a "recipe." The second is that they called it a pudding in a crust, and not a pie.
While they did have pie back then, a pudding stirs up a whole different style of cooking. Historical puddings can be make in a number of ways, and can be both sweet and savory. Technically, haggis (yes,
that haggis) is a pudding. Many are boiled in bags, called pudding cloths, though, as with haggis, they can also be boiled in a stomach casing. In the early 19th century, receipts for puddings often referred to baked puddings, and typically mixed the main ingredients with a handful of eggs to create a custard-style dish. Many of the recipes called for the pudding to be placed in a puff paste- essentially, a bottom pie crust. This particular receipt is interesting, because it also calls for a crust treatment on the top, too.
This is from Mary Randolph's "Virginia Housewife," the 1824 version, which was the first edition published. We'll walk you through it, and help translate the hearth cooking version as we've done to your modern ovens. We'll show you how to make the puff paste (pie crust) receipt, but feel free to use your own favorite homemade or store bought pie crust! But do yourself a favor, and
buy an actual pumpkin, not the canned stuff.
PUMPKIN PUDDING (modern ingredient list)
-1 small/medium sized pumpkin
-4-5 eggs
-half a pint of milk
-quarter pound of butter
-pinches of ginger and nutmeg
-approx. 1/2 cup brandy (optional)
-sugar (to taste, so anywhere from a 1/4 cup to 2 cups!)
We begin with cutting up the pumpkin, and removing the goo and the seeds. Save the seeds for roasting!
Cut the pumpkin in to strips, and then into chunks. Peel off the outside, with either a knife or peeler.
Once you have all your chunks in a pot, add some water to keep it from burning on the bottom, and place it over the fire in a slow boil to soften the pumpkin. For those doing this at home, put your stove about medium high to bring it to a nice boil.
With that settled, you can begin to make the pie crust, or, in our time period, the puff paste. If you'd like to use a pre-made crust at home to save time, go for it, or if you have your own favorite modern crust you like to make, go for it too! Puff pastes aren't known for being really tasty. But if you want to do the historic crust, here's the method, according to Mary Randolph.
Randolph says to sift out a quart of flour, leaving some out for rolling later. Instead of a quart, we measured out about a quarter pound of flour for the bottom crust, with our awesome scale, and then a little less for the top crust.
Randolph next says to add cold water to the flour, "knead it well" into a "stiff paste." If you're doing this at home, you will unfortunately have to eyeball it. My suggestion is to pour a small amount of water in, say, a quarter of a cup, and mix it together, then add very small amounts of water as you need to get the right consistency. A "stiff paste" should look and feel like... pie crust!
Once you have your stiff paste, set aside a chunk about 1/3 the paste, and roll out the rest. Randolph says to wash the salt from a pound of butter (or, just go buy unsalted butter, because, we can do that in the 21st century!), divide the butter into parts, and then begin rolling the butter in to the paste to mix it in.
Once the butter is nicely "mingled" with the paste, place it into a baking dish, and cut the excess off.
Make sure there are no pockets of air in the edges of the dish.
Now that the bottom crust is ready to go, if your pumpkin hasn't stewed enough, use the same method to finish the top crust. We'll show you that shortly, but let's get that stewed pumpkin! The first thing you'll want to do is strain the pumpkin, either through a sieve or cheesecloth, to get smoother pulp. If you have neither, I suppose you could quickly drop the mix into a food processor for a few seconds, or push it through a spaghetti strainer (disclaimer: I've never done that, so I have no clue if it would work or not! Proceed at your own risk!).
Once nice and smooth, here is where you'll need those other ingredients. Now, Randolph's receipt says to use 6 eggs, but we suggest 4-5 instead, especially if you're getting store-bought eggs. Modern chickens have been genetically engineered to be MASSIVE birds that lay MASSIVE eggs, much bigger than most birds and eggs in the early 19th century. So, it is a good idea to use a few less eggs. Add your eggs to the pumpkin, along with your milk, butter, ginger, nutmeg, sugar, and, if you'd like, brandy (put in a little less milk in this case). You don't want it too liquidy. Randolph suggests to stew the mix a little if it is too liquidy.
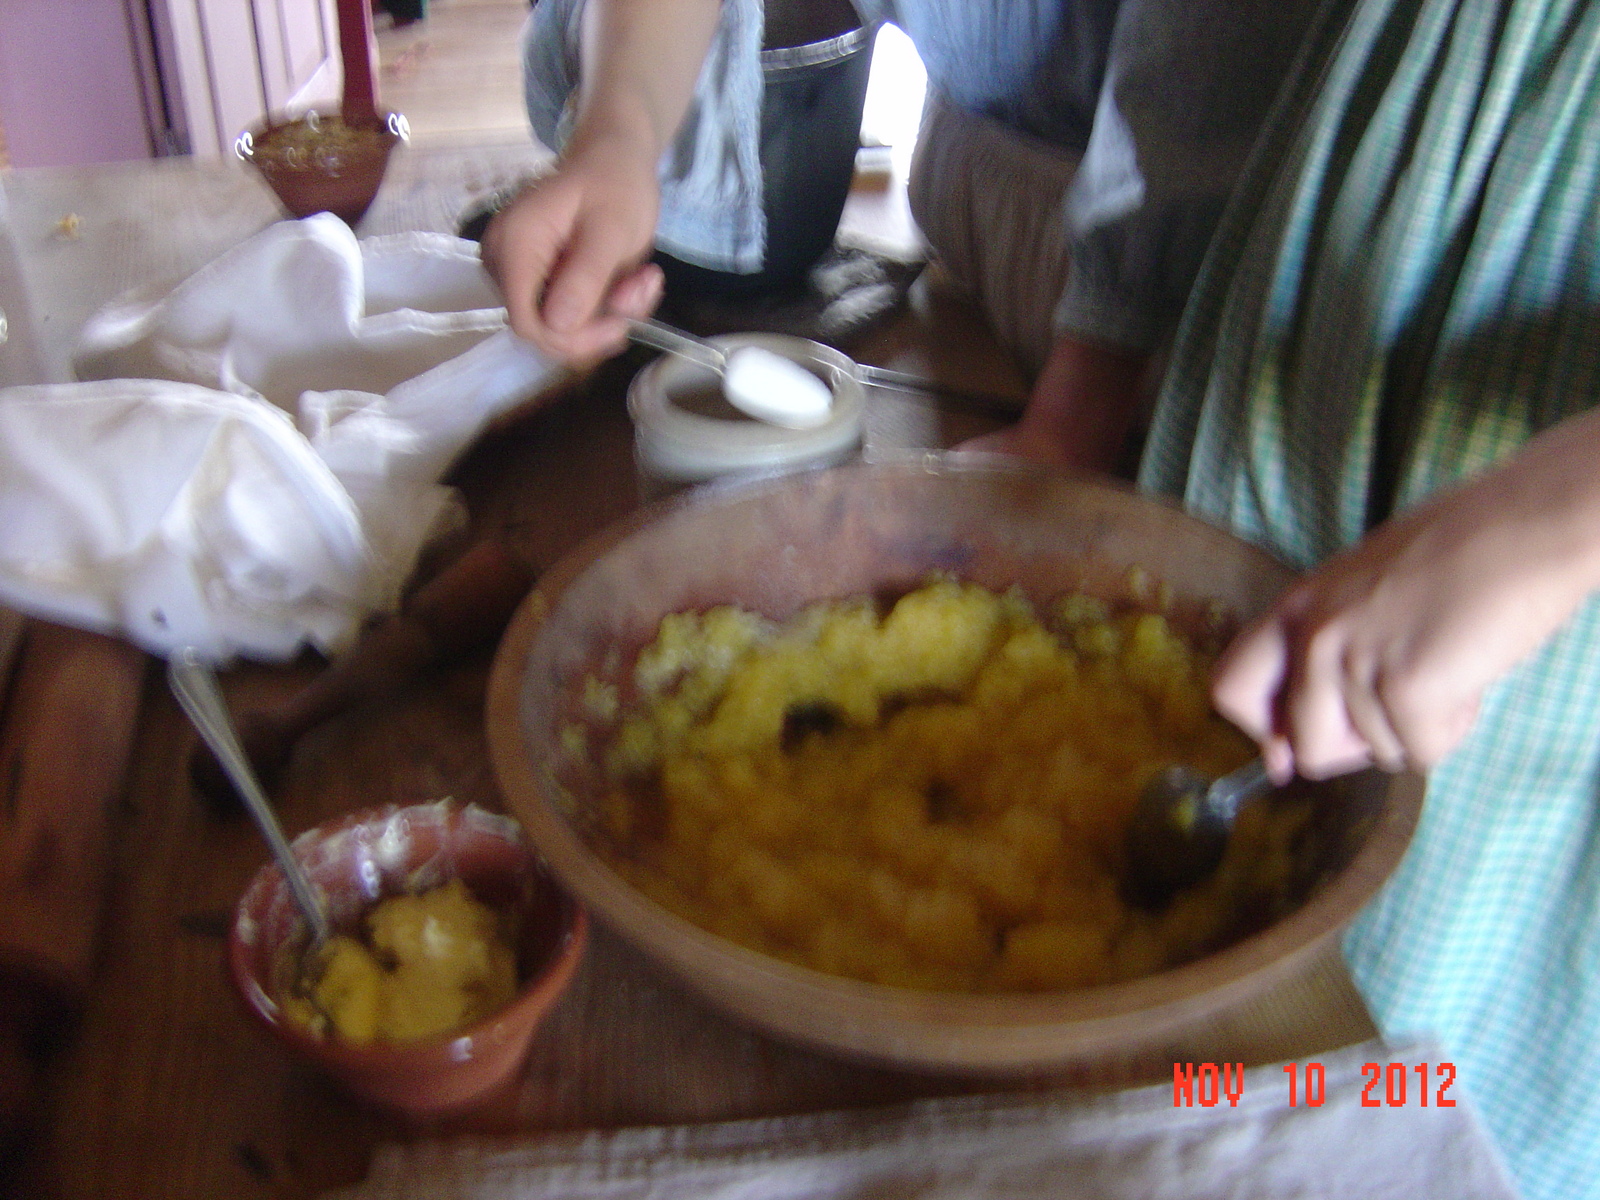
Unfortunately, in our excitement for the nearly-finished pie, the next set of pictures turned out a little blurry. We apologize for this, but you can imagine just how good it was starting to smell!
One of our German farm staffers stops by to observe and beg for a taste. If this happens in your kitchen at home, I would suggest fending the German off with a wooden spoon.
Add the mixture to your puff paste/pie crust.
Here's the interesting part. Randolph writes, "cut some thin bits of paste, twist them and lay them across the top." Now, historically, there really isn't much precedent for lattice topped pies, but this is pretty close, and the exact execution of this is open to interpretation. How many strips? How close to one another? In both directions? Who knows. And frankly, you are master of your own kitchen, so do whatever the heck you want!
It's a little blurry, sorry!
But, blurry or not, George the Cat approves.
Place the pie in the oven to bake. We used the dutch oven, placing hot coals under it and on top of the thick lid. We checked it after half an hour of baking, and finally pulled it out after 45 minutes. I would suggest you put your pies in at home at 450 degrees F, and also check after 30 minutes. If it looks done, pull it out, if not, check every 15 minutes beyond that to make sure it's cooked through. It should be somewhat custard-y.
Let it cool, then eat!
May you all have a happy Thanksgiving!